
A vibrating pottery wheel, a plate that has some play, a motor that overheats after an hour of turning: these signals often appear well before a breakdown. Most guides focus on end-of-session cleaning, but the longevity of a wheel also depends on what happens between sessions, in the very environment of the workshop.
Electronics and ventilation of the pottery wheel: what wears out unseen
Recent wheels incorporate electronic speed controllers and control boards. These components cannot withstand fine clay dust or stagnant humidity. Dust settles on the motor’s ventilation grilles and gradually reduces cooling.
See also : Interpreting Your Annual Salary: Practical Tips for Executives and Non-Executives
Have you noticed that your wheel heats up faster than at the beginning? This is often a sign that the ventilation openings are partially blocked. A vacuum cleaner with a fine nozzle used on the grilles once a month is enough to restore proper airflow.
Knowing how to maintain your pottery wheel also involves protecting this invisible part. Several manufacturers now recommend covering the wheel between sessions with a breathable cover to limit the deposition of particles on the electronics without creating condensation.
Further reading : Practical Guide to Choosing and Maintaining Flowers in Your Garden
A rarely mentioned point: respecting the continuous usage duration recommended by the manufacturer directly protects the controller and the motor. Exceeding this duration repeatedly accelerates the wear of internal components much more than the turning itself.
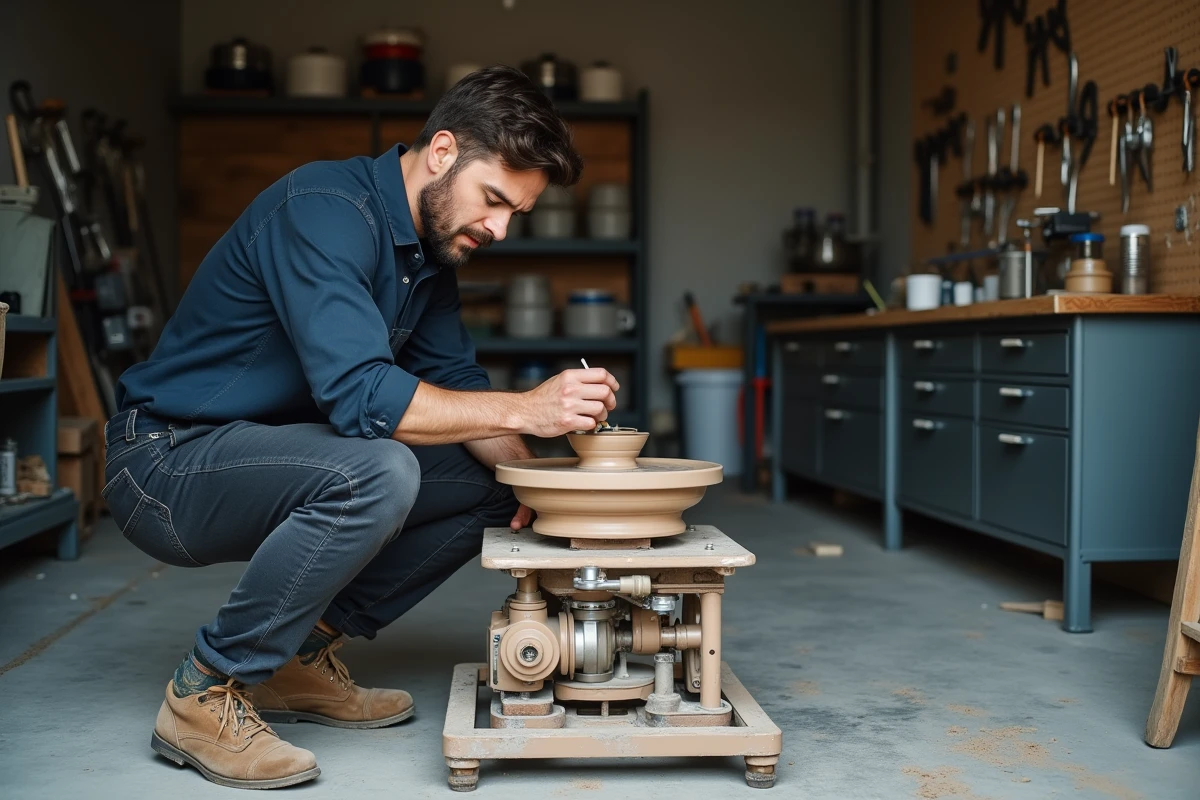
Fixings and plate: the mechanical check that no one plans
A plate that slightly wobbles is a defect that we instinctively compensate for with our hands. We get used to it without realizing that this play is worsening. The screws fixing the plate, feet, and sometimes the splash pan naturally loosen with the vibrations of turning.
Checking the tightness of the fixings every three months takes less than ten minutes. All you need is a suitable wrench and a visual check of the empty plate, slowly turning it to spot any lateral movement.
Key points to inspect
- The screws fixing the plate (wheel head) to the axis: even minimal play causes vibrations that fatigue the motor and misalign the pieces being turned.
- The feet or pads of the wheel: on an uneven floor, a poorly positioned foot transfers vibrations to the entire structure. A piece of dense rubber under each foot corrects the problem.
- The splash pan: if it moves during turning, water and slip overflow towards the motor, accelerating the corrosion of internal metal parts.
This simple mechanical check prevents costly repairs. A warped plate or an axis damaged by prolonged vibrations often requires complete replacement of the part.
Workshop microclimate: humidity and storage of the wheel
Clay needs moisture to remain workable, but the wheel fears it. This paradox requires thinking of the workshop in two zones: the storage space for the clay and the space where the wheel rests.
Several brands explicitly recommend maintaining a moderate humidity level around the wheel. An overly humid workshop promotes the oxidation of metal parts and the corrosion of electrical connectors. A dehumidifier placed near the wheel, especially in winter or in a basement, makes a real difference in the long run.
Raising the wheel, an underestimated gesture
Placing a wheel directly on a raw concrete floor exposes its base to rising moisture. Recent user guides discourage this practice and recommend raising the wheel on a stable support, even by a few centimeters.
A marine plywood board placed on shims is sufficient. Air circulates under the wheel, the base remains dry, and the motor benefits from natural ventilation from below.
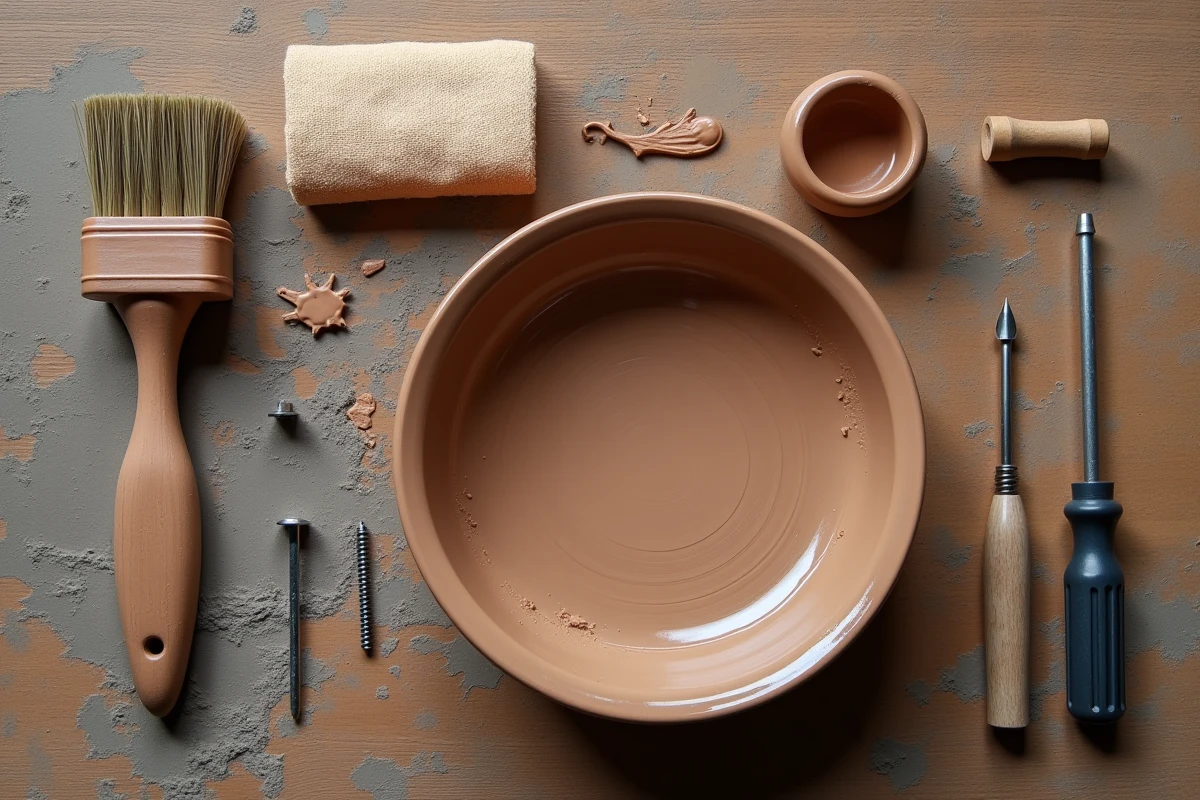
Cleaning the slip: protecting the wheel without damaging the plumbing
The slip, this mixture of water and fine clay, is the main mechanical enemy of the wheel. It seeps everywhere: under the wheel head, in the crevices of the splash pan, sometimes even reaching the motor housing.
The classic reflex is to rinse the wheel with plenty of water. This is effective on the surface but risky if water reaches the electrical components. It’s better to proceed in two stages.
- First, remove excess slip with a damp sponge, without pouring water directly onto the wheel. This prevents the clay-water mixture from seeping deeper.
- Next, clean the splash pan separately, detaching it from the wheel if the model allows. The clay accumulated at the bottom of the pan hardens as it dries and becomes difficult to remove after a few days.
- Wipe the metal surfaces with a dry cloth after cleaning. Residual water on the metal is the primary cause of rust on entry-level and mid-range wheels.
A detail often forgotten: never pour slip directly into a sink or basin. The clay settles in the pipes and forms a solid clog over time. A dedicated settling bucket, where the clay settles at the bottom before emptying the clear water, protects both the plumbing and the environment.
A well-maintained wheel does not require much time, but consistency. A few minutes after each session for cleaning, a mechanical check each season, and attention to the workshop climate are enough to extend the lifespan of the wheel by several years. The most costly aspect in pottery is not maintenance: it’s the spare part that could have been avoided.